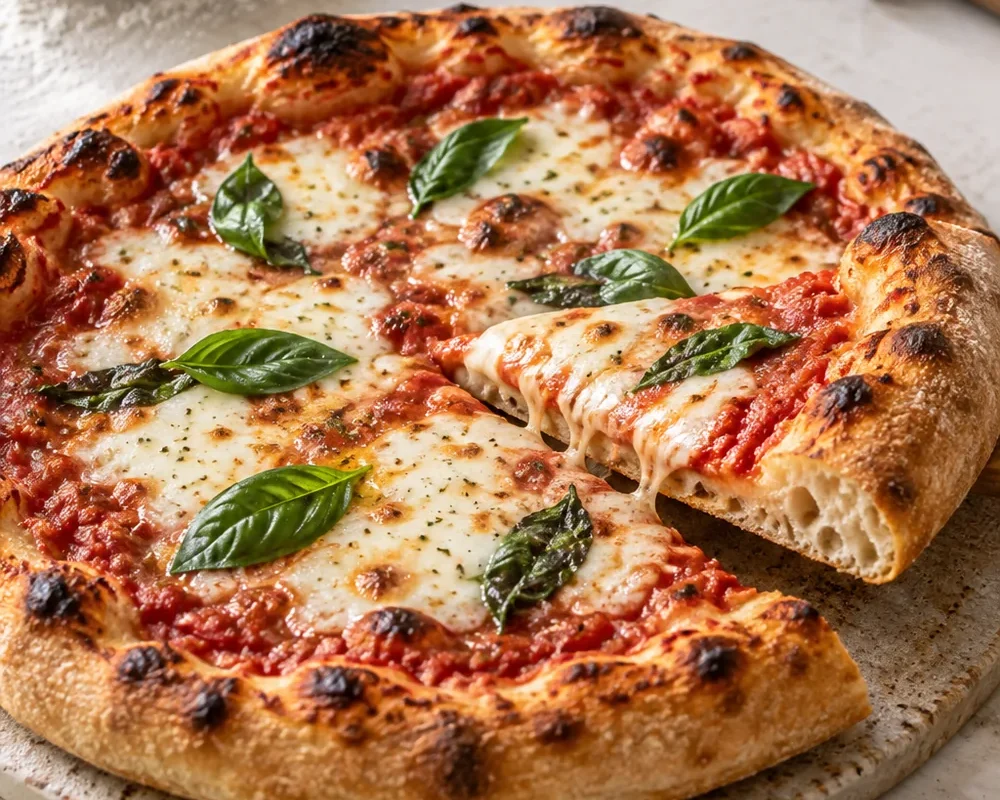
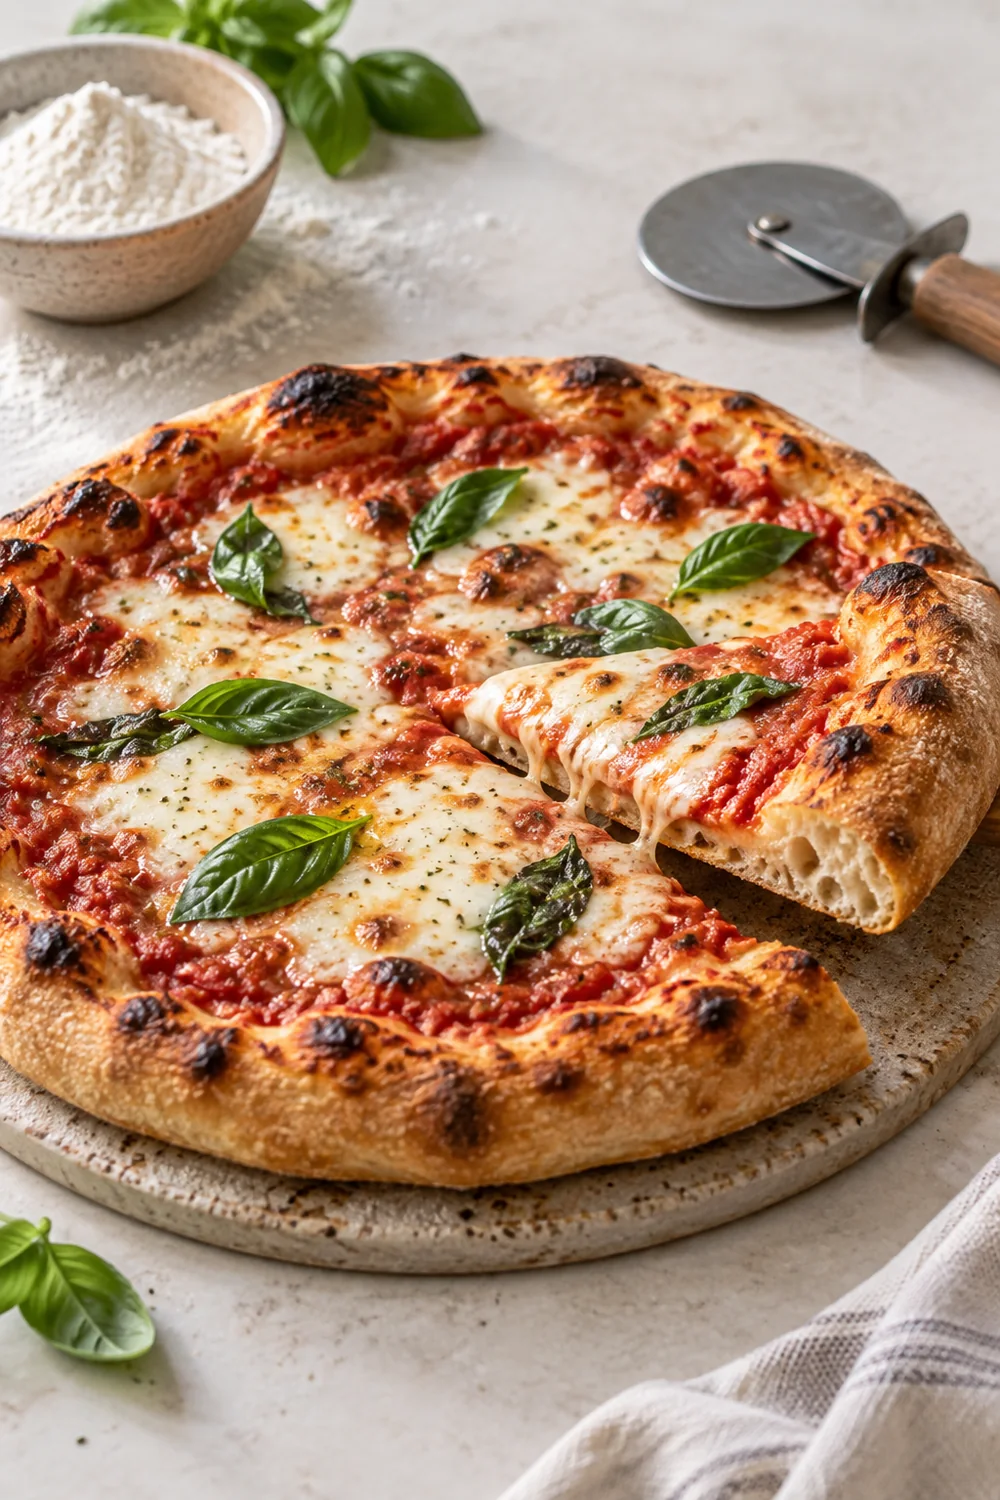
This gluten-free pizza crust uses a high-hydration, yeast-raised dough and a hot par-bake to create crisp edges, a flexible middle and enough structure for a generous layer of toppings.
Mix a gluten-free flour blend containing xanthan gum with yeast, warm water, olive oil and cider vinegar. Spread the soft dough with oiled hands, proof until puffy, par-bake in a very hot oven, then add toppings and finish until the underside is crisp.
A useful gluten-free pizza crust recipe should explain the texture of the dough as clearly as the ingredient list. This dough is much softer than wheat pizza dough: it is spread rather than kneaded, then par-baked so it can support sauce and cheese without turning soggy. The result is an easy gluten-free pizza base with crisp golden edges and a centre that bends instead of crumbling.
Use a flour blend that is labelled gluten free and already contains xanthan gum. If you cook for someone with coeliac disease, clean the work surface, tray, utensils and oven area before starting, and keep wheat flour away from the preparation zone.
Gluten-free preparation note
Coeliac UK advises cleaning surfaces and utensils and avoiding shared oils, crumbs and flour contamination. Check every flour, yeast, sauce and topping label for your own dietary requirements.
Use one gluten-free flour blend consistently because absorption varies between brands.
The blend must contain xanthan gum; do not add extra unless the manufacturer instructs it.
Low-moisture mozzarella releases less water than fresh mozzarella.
Check yeast, baking powder, polenta, sauce and toppings are labelled for your dietary needs.
How to make it
Whisk the flour blend, yeast, sugar, salt and baking powder in a large bowl.
Whisk the warm water, olive oil and cider vinegar in a jug. Pour into the dry mixture and beat firmly with a wooden spoon or mixer paddle for 3 minutes. The dough should look like a very thick, sticky batter rather than kneadable bread dough.
Cover the bowl and leave in a warm place for 35–45 minutes, until visibly puffy and increased by roughly half.
Heat the oven to 240°C conventional or 220°C fan. Put a heavy baking tray, pizza stone or steel on the centre rack to preheat for at least 30 minutes.
Place baking paper on a second tray or peel and dust it with gluten-free polenta. Scrape the dough onto the centre. With well-oiled hands, press it into a 30 cm round about 6 mm thick, leaving a slightly thicker rim.
Slide the paper and crust onto the hot surface. Par-bake for 12–14 minutes, until the top looks dry, the rim is lightly golden and the base releases from the paper.
Remove the crust. Spread with tomato sauce, leaving the rim exposed, add mozzarella and drizzle with olive oil.
Return to the oven for 8–12 minutes, until the cheese bubbles, the rim is deep golden and the underside feels firm and crisp.
Rest for 3 minutes, scatter with basil, slice and serve.
Pro tips
Do not add flour until the dough resembles wheat pizza dough; gluten-free dough should remain soft and sticky.
Preheat the baking surface fully for better underside colour.
Par-bake before topping to protect the centre from sauce moisture.
Keep toppings restrained and drain wet vegetables.
If the crust colours before the base is firm, move it to a lower oven rack for the final minutes.
Variations & substitutions
Dairy-free: Use a dairy-free cheese that is labelled gluten free.
White pizza: Replace tomato sauce with a thin layer of seasoned ricotta and use less mozzarella.
Individual pizzas: Divide into two 20 cm rounds and start checking the par-bake at 9 minutes.
Herb crust: Add 1 teaspoon dried oregano to the flour mixture.
What to serve with it
Serve with a crisp green salad or roasted vegetables.
Use the crust for margherita, mushroom, roasted pepper or leftover-chicken pizza.
Storage & reheating
Cool leftover pizza promptly and refrigerate it within 2 hours. Eat within 48 hours or freeze. Reheat once until steaming hot throughout. For make-ahead crusts, cool the par-baked base completely, wrap well and freeze for up to 2 months; add toppings and bake from frozen, allowing extra time.
Keep this recipe
Gluten-Free Pizza Crust with Crisp Edges
This gluten-free pizza crust uses a high-hydration, yeast-raised dough and a hot par-bake to create crisp edges, a flexible middle and enough structure for a generous layer of toppings.
Prep
20 min
Cook
24 min
Total
1 hr 40 min
Servings
One 30 cm pizza, 4 servings
Difficulty
Medium
Course
Dinner
Cuisine
Italian-inspired
Diet
Gluten Free, Vegetarian
Ingredients
Instructions
Notes
Do not add flour until the dough resembles wheat pizza dough; gluten-free dough should remain soft and sticky.
Preheat the baking surface fully for better underside colour.
Par-bake before topping to protect the centre from sauce moisture.
Keep toppings restrained and drain wet vegetables.
If the crust colours before the base is firm, move it to a lower oven rack for the final minutes.
Storage & safety
Cool leftover pizza promptly and refrigerate it within 2 hours. Eat within 48 hours or freeze. Reheat once until steaming hot throughout. For make-ahead crusts, cool the par-baked base completely, wrap well and freeze for up to 2 months; add toppings and bake from frozen, allowing extra time.
Nutrition estimate
Nutrition has not been calculated for this recipe.
Without gluten, the dough needs more water and a binder to hold gas. Treat it like a thick batter and shape it with oiled hands instead of adding excess flour.
Do I have to par-bake a gluten-free pizza crust?
For this high-hydration formula, yes. Par-baking sets the centre before sauce and cheese add moisture.
Can I use a flour blend without xanthan gum?
Not as a direct swap. Binder needs vary by blend, so use a blend containing xanthan gum or follow the manufacturer’s specific binder guidance.
How do I avoid cross-contamination?
Clean surfaces, utensils and trays, keep wheat flour away from the work area and check every packaged ingredient. Coeliac UK provides detailed home-kitchen guidance.
Can I freeze the crust?
Yes. Freeze the cooled par-baked crust without toppings, then top and bake directly from frozen.
Sophie Bennett shares practical recipes and meal-planning ideas for Saucy Recipe. Each recipe displays its recorded testing and editorial status so readers can understand what has—and has not—been verified.
May we use statistics services to understand which recipes and tools are useful? Pantry entries, grocery text, private notes, and email addresses are never included in measurement events.


 1
 2
 3
 4